Tuesday 28 February 2012

LANDSCAPES...


By Kyle Barry (I possess the sole rights to all the photo's in this post and do not permit any use what so ever with out my sole consent)

Landscape photography is among the favourite choices for a great number of enthusiast photographers. No matter where you live you will always be surrounded by landscapes begging to be captured. Landscapes are ever changing from dusk til dawn and season to season making each shot unique by nature.

For landscapes you should ensure you have the following gear:


  • Spare batteries: for your camera and flash gun (you don't know how long you'll be waiting for that right moment and how many photo's you'll take to get there)
  • Lenses: The lens of choice is a wide angle lens (in the 16-85mm range) if your kit allows it an ultra wide angle lens (12-24mm) should also accompany you. Fish eye lenses make for interesting shots but are not essential as well as a short telephoto lens.
  • Camera body: this goes without saying.
  • Filters: Neutral density (ND) filters are a favourite as they allow for long exposures and eliminate over-exposure. UV filters and polarizing filters should always be in your kit bag as it increases colour saturation and limits reflections on surfaces such as water. Colour filters are nice to have but not essential as you can just retouch and apply in the post-processing stage.
  • Tripod: Tripods work great for steady shots and opt for a a lightweight tripod as you'll be carrying it a lot. If you are worried that a lightweight tripod may not be stable ensure that the center column has a hook for you to hang your kit bag, this will ensure balance and sturdiness.
  • Remote release: this is not essential but great to have for long exposures to minimise camera shake. If you do not have one set your camera's timer and take it from there.


Composition
Always be aware of the rule of thirds this will result in balanced shots, look at lines running through your shot specifically the horizon which should be in the upper or lower third of the frame. look at where the sun is in your frame, try having it on the side as you'll get interesting shadows and often favourable lens flare. Always find something that leads you into the shot for example a walkway, river, road etc.


Make use of the foreground
Taking pictures with your camera in portrait orientation will result in strong images especially where there is detailed foreground. In portrait orientation you can create a sense of distance and scale making images look more dramatic. Try shooting at low angles to get close to the foreground and bring out the textures that it possesses. Look to find rocks, water, flowers etc.


Weather conditions
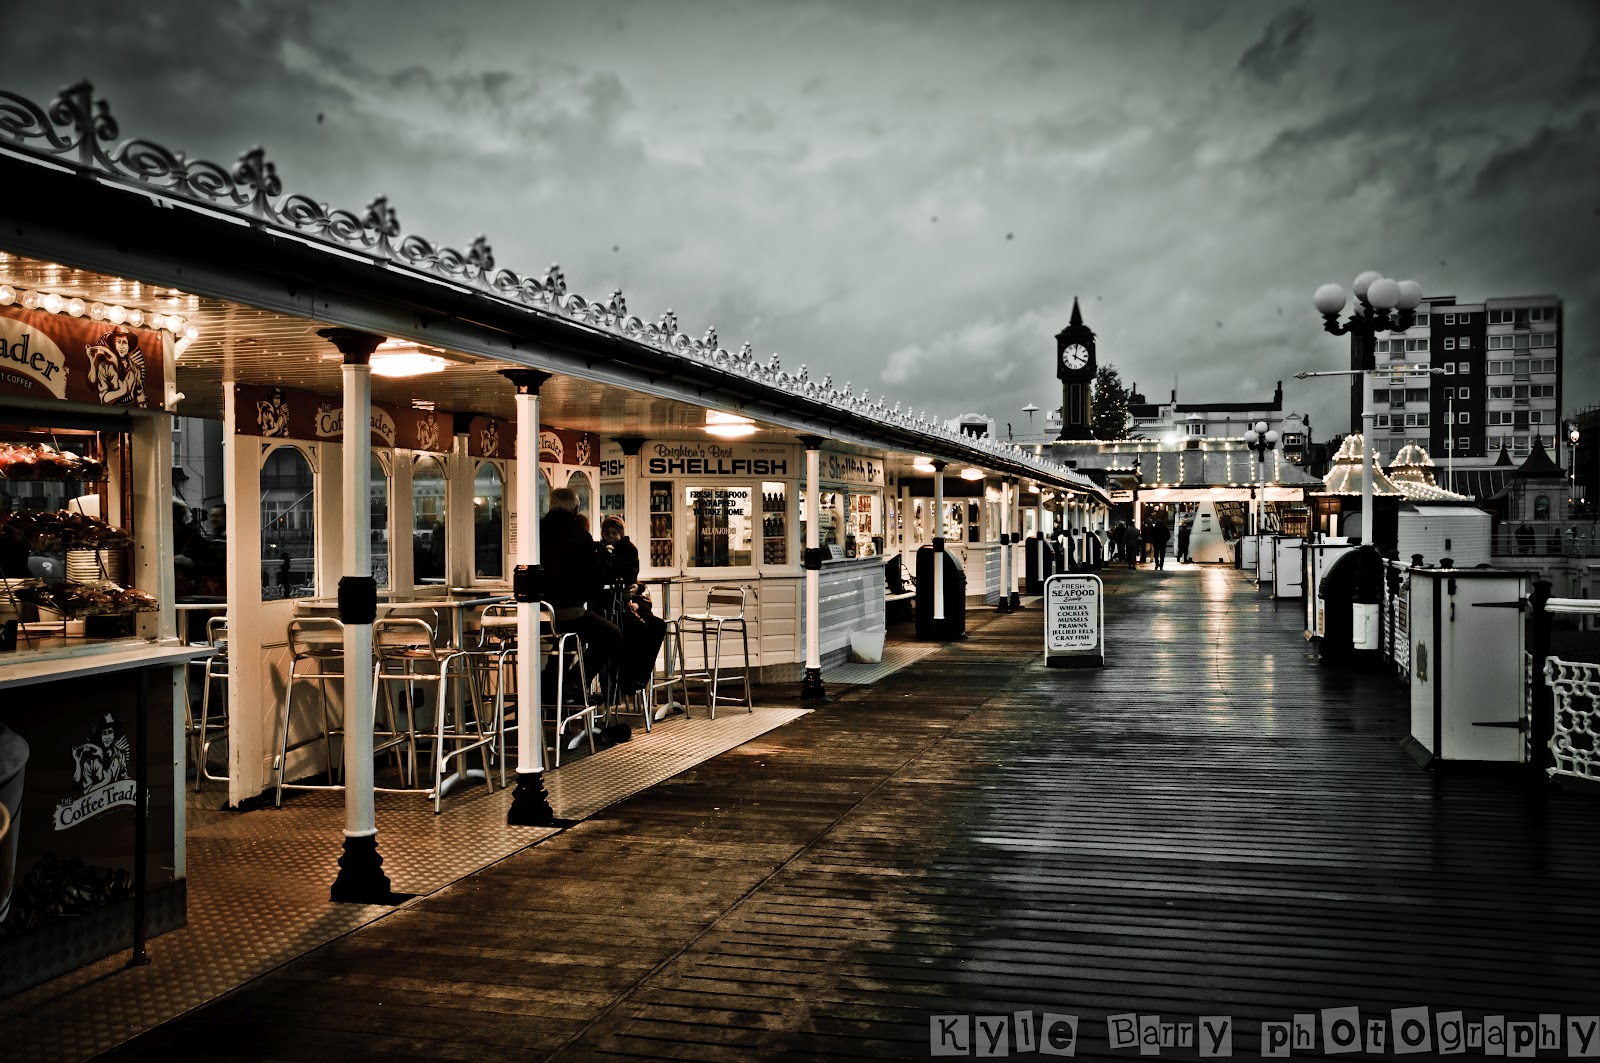
Even though blue skies might sound like the ideal weather conditions for landscape photography bad weather boasts the most exciting shots. Thick grey clouds and stormy weather creates amazing textures and really tells stories when you look at the picture. It's all about waiting as you never know what the weather will do next, one moment the skies may be dull and lifeless the next moment clouds may part and rays of light might create an eloquent backdrop! So bad weather is not always bad news, be patient!


I'll leave you with this final thought, photography is an art, not a science! There is no right and wrong there are only guidelines! Don't be afraid to bend or break the rules and always challenge yourself and experiment with what you are doing!

Monday 27 February 2012

FIVE USEFUL TIPS FOR CONCERT PHOTOGRAPHY...


By Kyle Barry (I possess the sole rights to all of the photos in this post and do not permit any use what so ever with out my sole consent)


Concert photography is one of my favourite forms of photography as each concert, song and second is unique and can never be captured again! It is exciting but at the same time extremely difficult, there are so many things going on at once, changing lights, subjects that keep moving around, small spaces, crowds and limitations in time and what you are and are not aloud to use and do. 


You only have a few seconds to capture the moment (if that much) and you better make it count! Here are some tips that I find useful when shooting concerts:


Tip #1 - Shoot in manual mode
Manual mode can be quite daunting but once you get used to it, Auto will be a thing of the past! the freedom of choosing your own shutter speed, aperture etc. allows for more accurate shots. Practice using manual at small concerts and don't charge the band as you will be doing it to get to know the setting and be fiddling around quite a lot ending up with blurred, over-exposed or under-exposed shots. Just remember Auto is the enemy!


Tip #2 - Grip the camera properly
Cradle the lens in your hand and tuck your elbows into your torso for a good sturdy grip! refrain from holding the lens with your thumb and index finger as this will result in blur (and it won't be the artistic type). Tripods wont work in concert environments as you don't have the space or time to make adjustments.


Tip #3 - Use single-point AF
Use a single point instead of multiple focus points as this will give you more control over your shots. In most instances multiple focus points leads to focusing on unwanted areas such as the microphone or guitar instead of the singers face. You need to be fast when using single-point AF as you don't have a lot of time to wonder about where the focus should be, so take the time to get to know your camera inside out.


Tip #4 - Know what you are dealing with
Get to the venue early and look at your environment! Find out what space you have and where the lights are, this will help you preconceive shots and prepare before hand. Talk to the band ask them if they mind having you onstage (But remember you are not in the band so don't be in their set, get the shot and get out), ask if they mind flash, chances are the answer will be no and you have to make due with available light. If you are there for the main band use the supporting acts to practice for the main event! Listen to the music before hand this might indicate key moments in a song where the guitarist strikes a pose or the vocalist interacts with the crowd!


Tip #5 - Release your artistic side
Don't be afraid to experiment with shots! Use slower shutter speeds or zoom bursts to get great effects that might end up surprising you! this is the way you develop your style so use it its what make you unique from other photographers! be aware of whats going on on stage to ensure that every shot counts and that you capture and portray what you saw when you where there!


So there you go, find out when the local bar has its next gig and get to practice sooner or later you'll master it and get the shots you envision! Goodluck!

Sunday 26 February 2012

A TRIP TO BRIGHTON PIER...


By Kyle Barry (I possess the sole rights to all of the photos in this post and do not permit any use what so ever with out my sole consent)

Brighton Pier (England) holds an eery sense of gloom that instantly draws one to its damp and cracked wooden walkways. Millions of people have walked on this mammoth structure that has through the years become part of the ocean as scallops, mussels, seaweed and the like have grown and made it home. Looking over its distant neighbor, and now a mere skeleton - The West Pier, one can see an era now past engulfed by the ocean after being destroyed by both man and nature.

Brighton Pier is a photographer's dream as it holds so much mystery and has grown to become a thing of beauty. As we were driving to the pier we encountered a sudden change in weather I thought would ruin the day, instead it created a backdrop that only added to its fantastical nature. Thick grey clouds and stormy seas reminded me of things one would see in horror movies, but at the same time curious and cheerful.

Equipped with my camera and wide angled lens I instantly became trigger happy as each shot had its own uniqueness. Large apertures and slow shutter-speeds allowed for great textures and great contrast. The sun was setting and the mood was just right on this cold mid-winters day and even though an icy wind froze us in our tracks, people filled the pier and enjoyed the rides and games that the pier is famous for.

Entering the dark of the night I got the chance to experiment with very slow shutter speeds (1-4sec) and wide open apertures as the lights of the rides whizzed by and created and amazing spectacle of colour. Drizzle added to the mystique of the setting making me realise that I would never again be able to capture the things I saw on that day!

Visiting Brighton Pier as a photographer is a truly exhilarating experience and one that one should never pass up if you get the chance. It provides a vast variety of scenes to capture and allows for ample practice in its ever changing weather and lighting conditions.